Introduction
MQTT is machine to machine connectivity protocol which is designed in a way to be appropriate for IoT (Internet of Things). One of the main advantages of MQTT is that it functions properly even behind NAT. Therefore it is a convenient for communication with services deployed on the cloud. In my previous article I reviewed the process for setting up MQTT broker with OpenShift and I found out a few limitations related to the port forwarding for accessing the broker without TLS connection. Today I will provide you another solution to overcome these limitations and to achieve the same goal.
In this tutorial I will show you how to set a Linux container and to install the open source MQTT broker Mosquitto on it using scalable cloud hosting services from Kyup. Unlike some of the other cloud services, Kyup provides a root password for the Linux containers. I was amazed by the user friendly web interface which allowed me to get MQTT broker up and running very quickly and to connect it to Node.js application (btw this is another interesting topic that deserves a separate article).
Creating a Linux Container
Login at kyup.com and follow the steps below to create a Linux container on which MQTT broker will be installed:
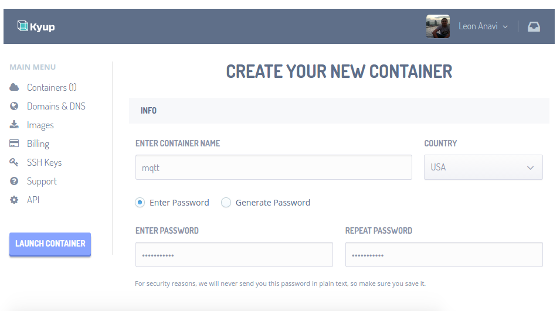
- Click launch container.
- Enter a name of the container and optionally a password (otherwise the password will be automatically generated).
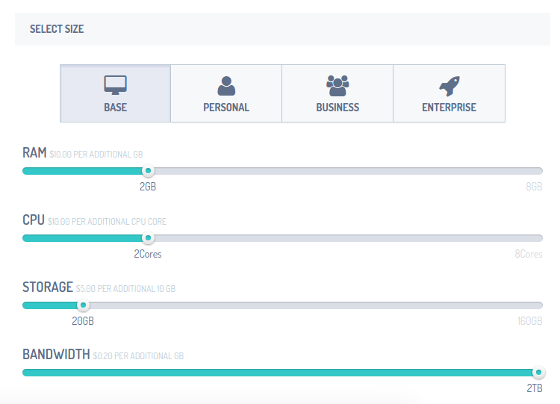
- Select the size of the container.
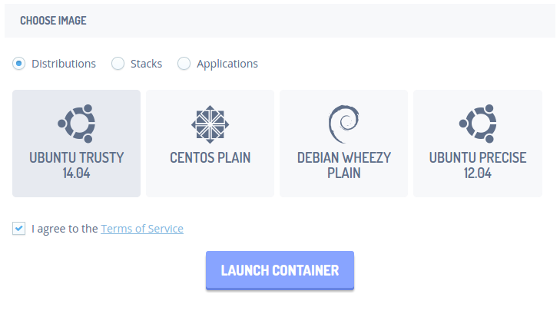
- Finally select an image, in this case I prefer Ubuntu Trusty 14.04, agree to the Terms of Service and click launch container.
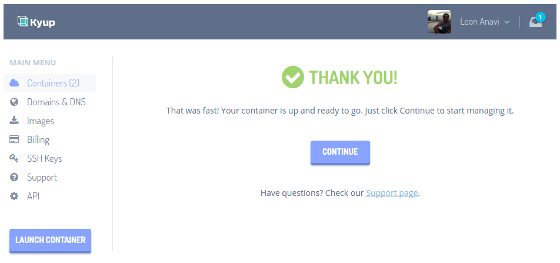
- The container will be ready in a second.
Installing MQTT Broker
Mosquitto is a popular open source implementations of MQTT broker. Follow the two steps below to install it on a Linux container in the cloud:
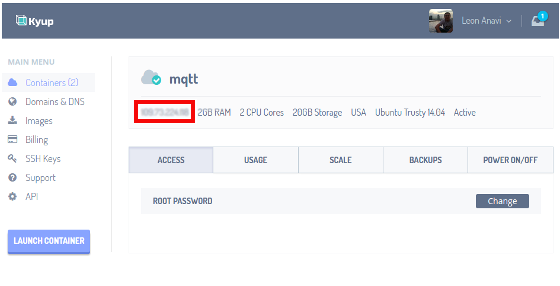
- Open a terminal and login to your container through SSH as root with the password that you have specified upon creation. The IP of the container can be retrieved from the web interface as shown below.
- Execute the following commands to install Mosquitto:
apt-get update
apt-get install mosquitto mosquitto-clients python-mosquitto
Connecting to the MQTT Broker
Verify that the MQTT broker in up and running by exchanging messages with it:
- Open a terminal (on your personal computer or on the cloud), replace IP depending on the settings of your cloud and execute the following command to subscribe for topic hello from the MQTT broker on the cloud
mosquitto_sub -h IP -d -p 1883 -t "hello"
- Open another terminal (again on your personal computer or on the cloud), replace IP depending on the settings of your cloud and execute the following command and publish a message for topic hello to the MQTT broker on the cloud:
mosquitto_pub -h IP -d -p 1883 -t "hello" -m "test"
If the the message is received in the first terminal then you have setup successfully Mosquitto on a Linux container from Kyup and you may continue with the integration of MQTT clients for your IoT.
See Also
Set Up MQTT Broker with OpenShift
|
